
This tutorial
explains how to create QR
codes that are easy to
track in Google
Analytics.
A. Create a
trackable
URL
Copy the page URL you would like to share with visitors.
Visit the Campaign URL Builder - ga-dev-tools.appspot.com/campaign-url-builder/
Add the following:
Website URL: paste your web page URL
Campaign Source: Always add qrcode in your source field.
Campaign Medium: Add the medium used to generate web traffic.
Example: “flyer” for a printed handoutCampaign Name: Include the name of your marketing campaign.
Example: “fall_campaign_test”Campaign Term and Campaign Content are not required.

The Builder automatically generates a campaign URL for you.
Click “Copy URL”

B. Create the QR
Code
Open a QR code generator such as www.qr-code-generator.com.
Paste in the campaign URL to create a QR code. If using qr-code-generator.com, a QR code will appear as soon as you paste the URL.

Test the QR code a few times with your phone to make sure it works properly.
Click “Download” to save a PNG or JPG image to your computer.
C. Check Your
Google Analytics
Dashboard
Open your site’s Google Analytics Dashboard.
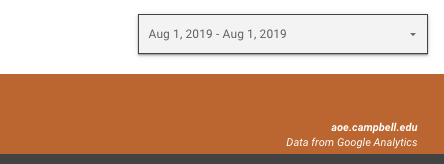
Contact UCOMM if you don’t have access to your analytics dashboard.Change the dashboard’s date range to the date of your first QR code testing. For example, if you first tested the QR code on August 1, 2019, change the date range to:
On the first page of your Google Analytics Dashboard, scroll and sort through the “How users are getting to the site” section to verify that your Source / Medium data appears.
In the example below, Source/Medium “qrcode / flyer” of Campaign “fall_campaign_test” appears with 3 user sessions. This confirms that the test data was tracks as expected.

D. Add the QR code
to your marketing
materials
Complete a final test of the QR code before printing or sharing with your audience.