
After you have
reviewed the Calendar Policy
& Best Practices, you will
be ready to start adding events to
Campbell's online calendar. You can
choose to learn by video or text tutorial
formats.
Video Tutorial: How to
Add an Event
Time: 7:52
Closed Captioning Available: Yes
Text Tutorial: How to Add an
Event
Last updated 12/4/2018
- Step
1 - Create a New
Event
- Step
2 - Add Event Title
& Detailed
Description
- Step
3 - Add Event Time and
Location information
- Step
4 - Select Event
Audience, Department and
Topics
- Step
5 - Publish the
Event
- OPTIONAL
STEP - Add
Photo
Step 1
– Create a New Event
- In the Dashboard left sidebar, hover above Events, and click Add New to create a new event.
Step 2 –
Add Event Title & Detailed
Description
ENTER EVENT TITLEAim for a title of less than 50 characters to make the title easy to scan and read.EVENT DESCRIPTIONSample event title and description
Step
3 – Add Event Time, Location
& Organizer
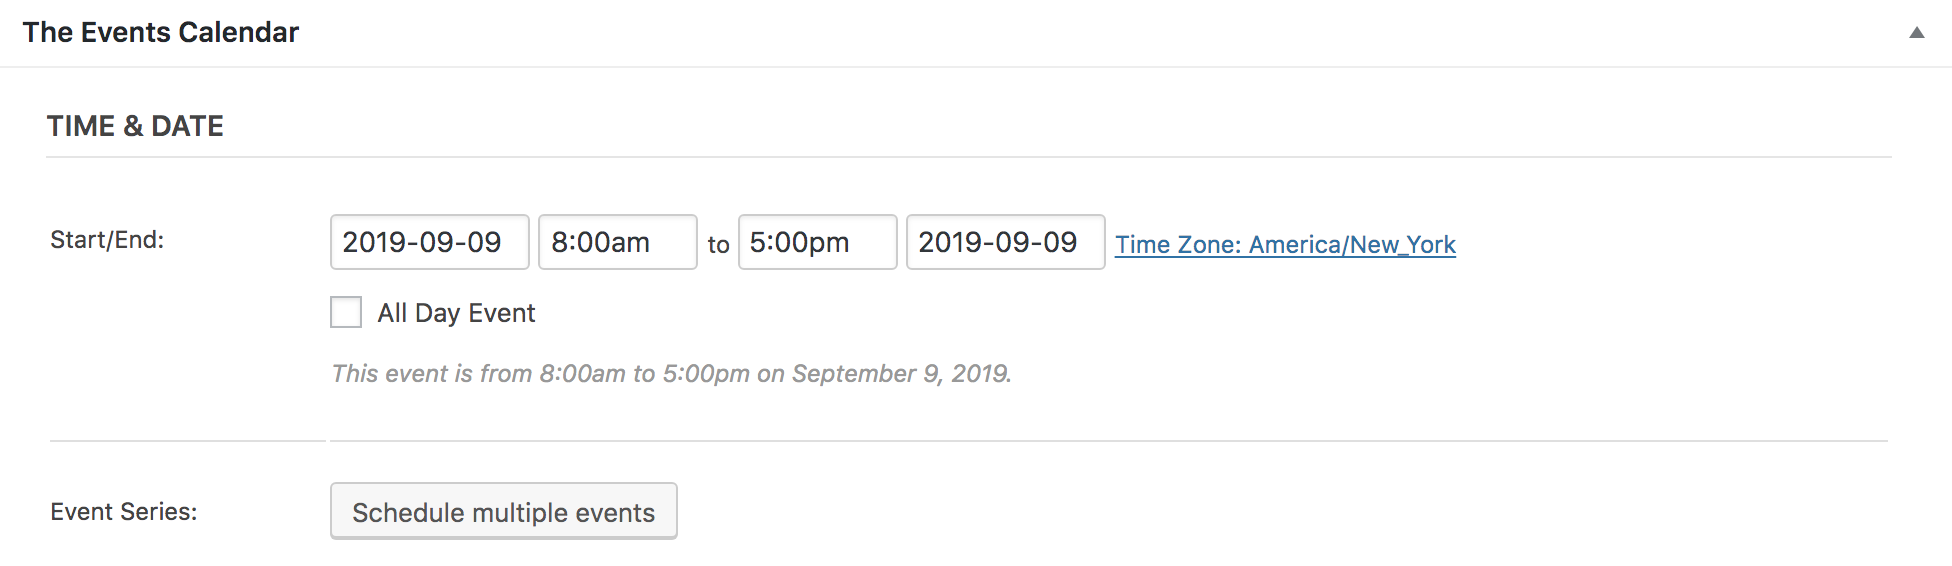
Scroll to The Events Calendar options to the add the following information:
TIME & DATEEnter start and end dates/times.
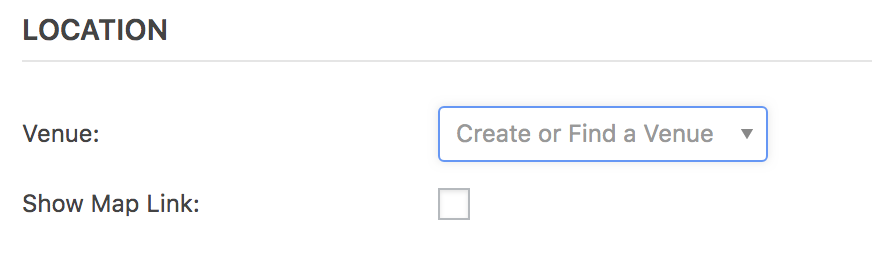
EVENT LOCATIONClick in the "Create or Find a Venue" field to select from a list of existing locations.Field before venue search.
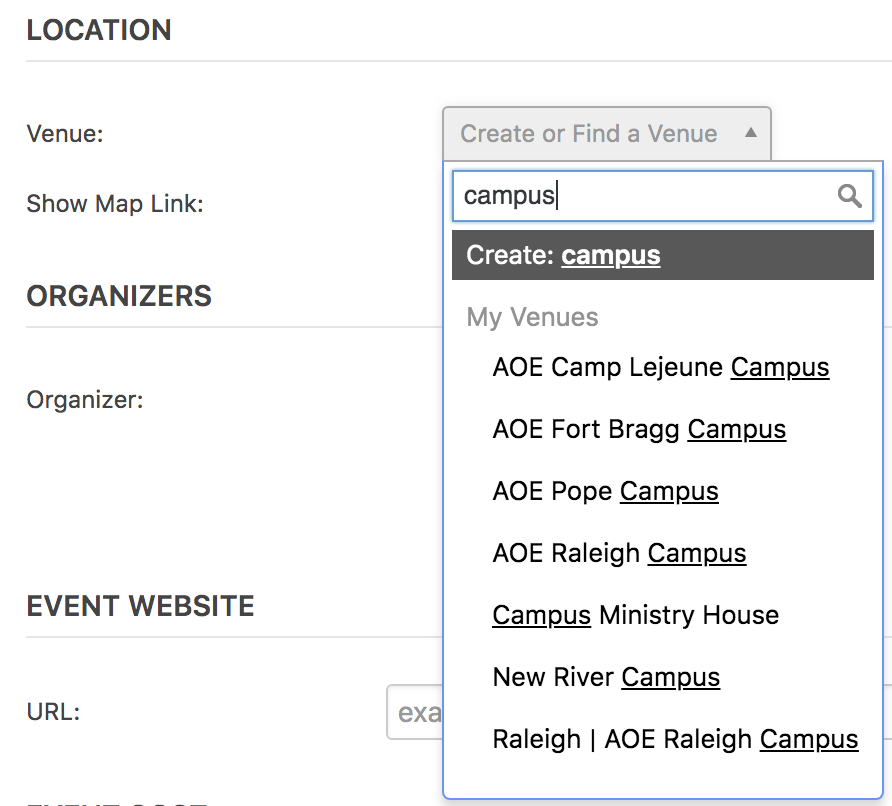
Example shows how search for "campus" yields a list of existing event venues. Click any of the results to select the desired venue.
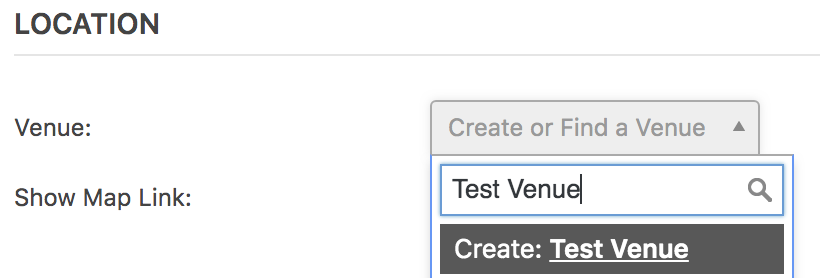
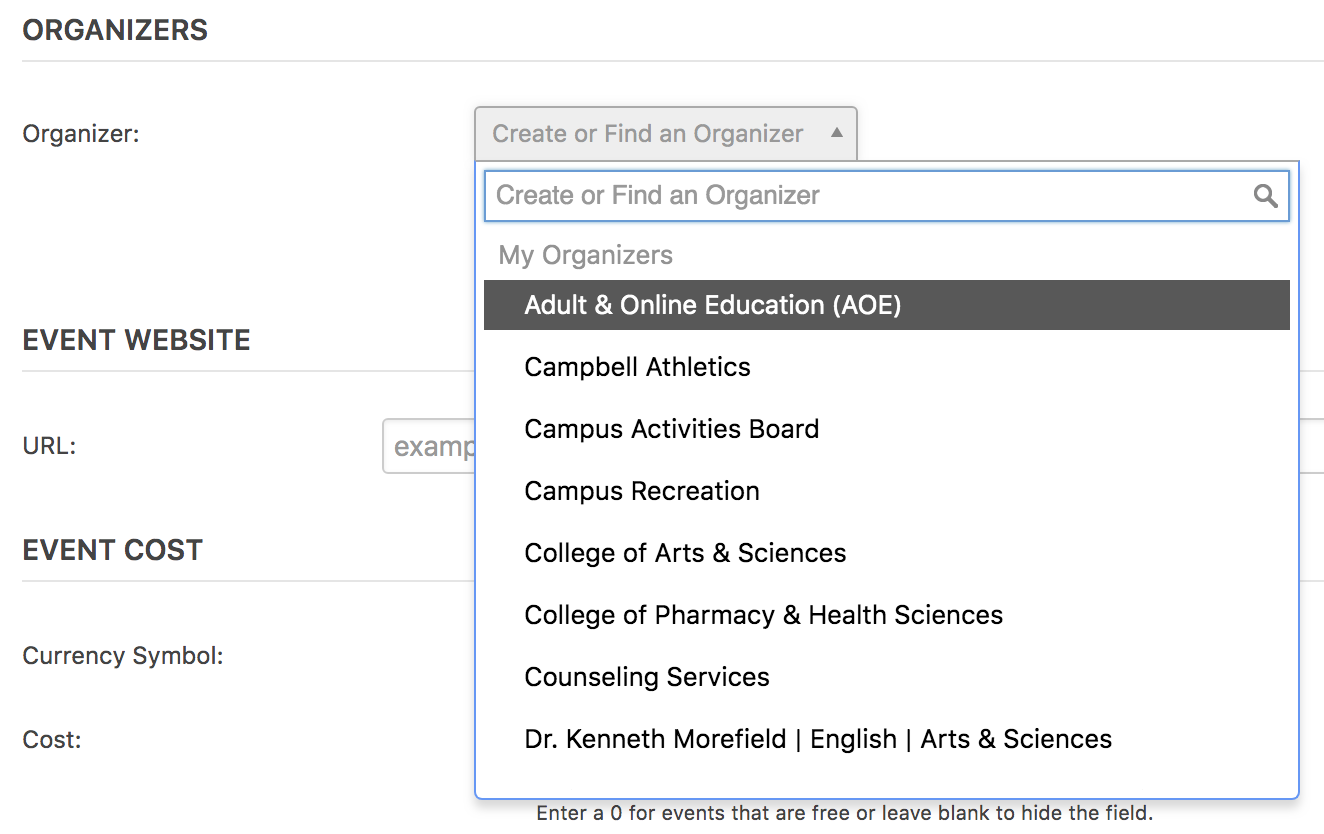
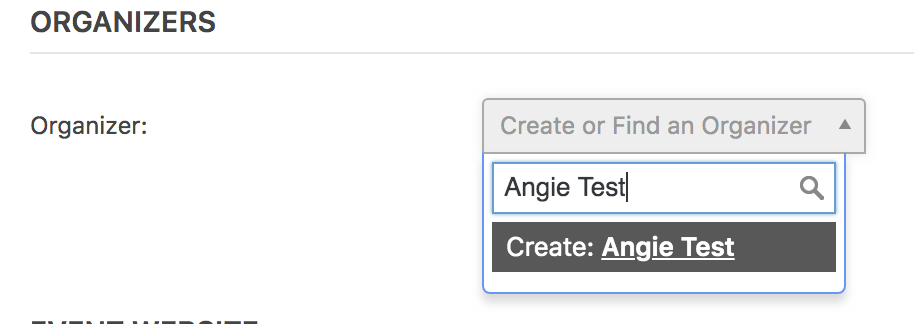
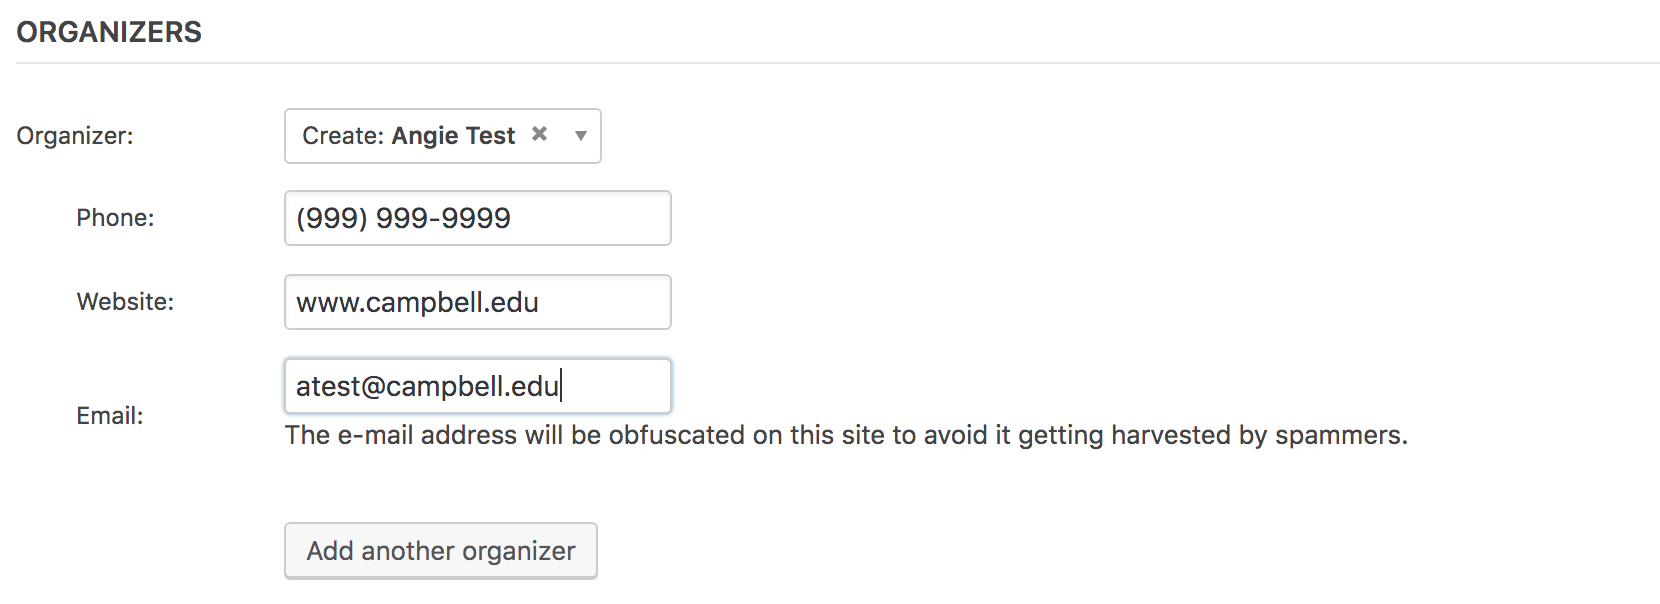
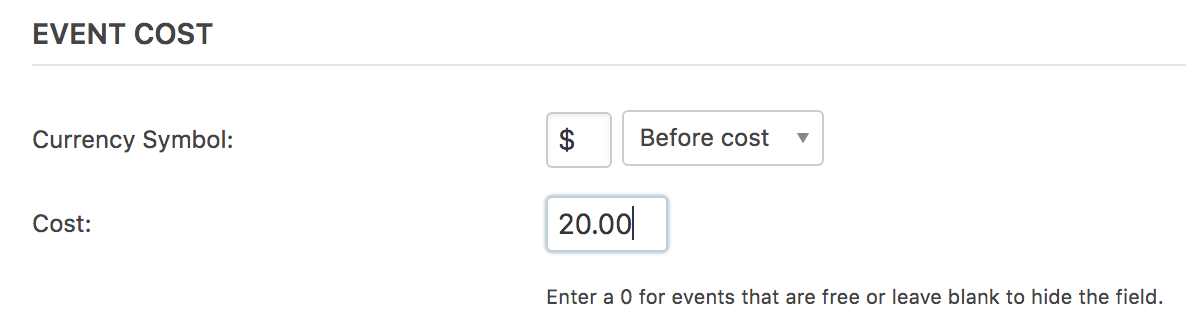
When creating a virtual event, select "Online / Virtual" for Location venue and"Virtual Events" for the Topic tag.If the venue you need does not appear in the search, type the name for your new venue and click/tap your keyboard's Enter key OR click "Create:[your venue name here]" to create a new venue.Example creation of a new venue called "Test Venue".DO NOT ADD room information in the venue names. Room specific information belongs with your event description. For example, after describing your event add "The meeting will be held in Room 16 of the Wiggins Library."Optional: Check "Show Google Map" to add an embedded map on the page. This is not an interactive map.Optional: Check "Show Google Maps Link" to add a link to Google Maps directions.EVENT ORGANIZERSearch for existing organizer and select your option if it appears in the list.If your organizer does not appear, type the name in the Organizer field and press your keyboard's Enter/Return key OR click "Create:[Your organization name here]" to create a new entry. Fields will appear for you to add contact information.EVENT WEBSITEThis is the web URL for more details or registration. Since this is lower on the page, we suggest that in addition to adding this URL you also add a button or text link in your event description area.EVENT COSTIf the event is free, leave blank. If the event is fee-based, add the "$" currency symbol, and enter the price with decimals (example = $20.00)


Step 4 – Select Event Audience,
Department & Topics
These options are very important as they
are used to add "event feeds" (lists of
your upcoming events) on landing pages
such as school home pages, student hub,
faculty hub, alumni hub, etc. See an example
>
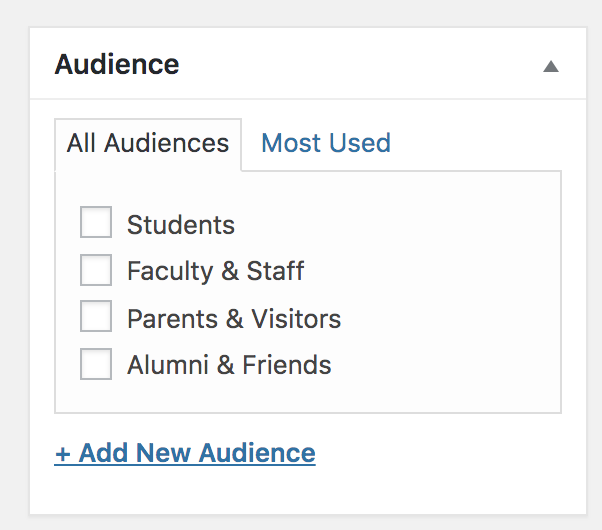
AUDIENCE
Audience represents the group of viewers who may have the highest interest in your event.
Choose 1-4 of the available audiences: 1) Students, 2) Faculty & Staff, 3) Alumni & Friends, and 4) Parents & Visitors. Select at least one audience per event.
DEPARTMENTSDEPARTMENTS categories are related to your department, school or program.At least one Department must be selected. This should be your primary school/department. If you do not see your department listed, let us know via Web Service Request.Use of other school/department categories: If you wish to add another Department to your event, first notify the school/department's primary web contributor.Scroll to see the full list of departments.
TOPICSTopics are broad categories that may be of interest to wide range of our web users. Interest topics include Graduation, Fine Arts, Homecoming and Athletics.* You are not required to use any of topic.* Do not create a new topic.Scroll to see the full list of topics.
Step 5 – Publish your calendar
event
- Click
the Publish button.

- Your event
should now be published live on the
website.