
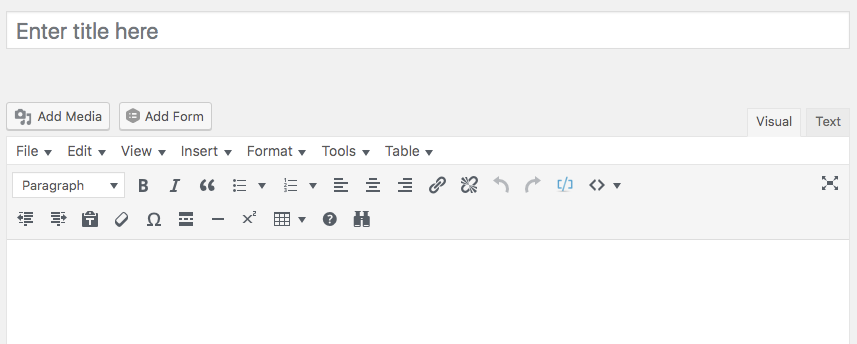
3. Add your blog title and content in
the appropriate areas.
- Titles: Add a blog post
title that's interesting and
represents your school, department
or initiative.
- Blog content: Keep
your content short, easy to read
and quick to scan. Be sure your
links are contextual - not "click
here" or "more". Read our blog
best practices content writing
tips >
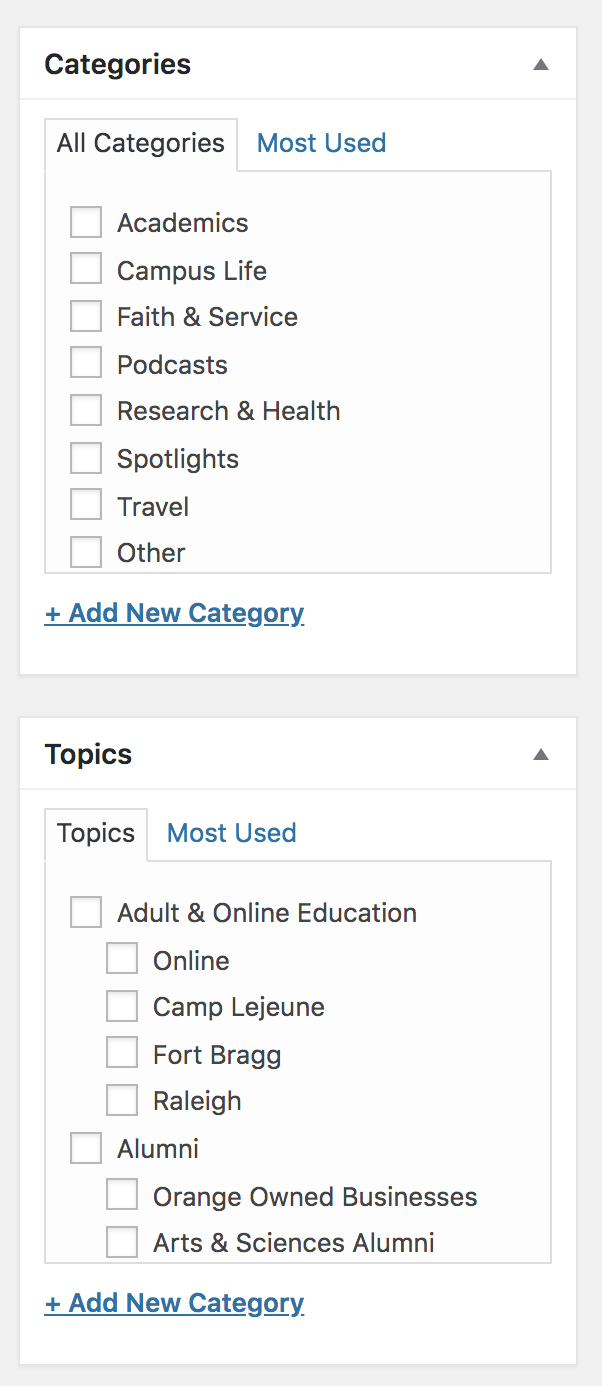
4. Select categories & topics for
the post.
- Select the Categories and Topics that
best match the content to be
published.
- Selecting a Topic adds the post to
your school/department landing page.
- If new Topics are needed in
the Category list, please share your list
of desired categories via a web service
request.
5. Add Content Contributors (optional)

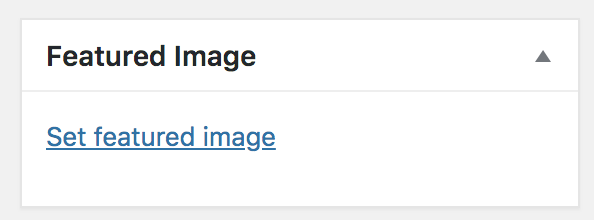
6. Add a
featured
image
In
the Featured Image panel, click Set
featured image.
Use of featured
image is optional, but highly
recommended.
7. Preview and Publish
Once
you've made all of your
edits,
preview the page to see
how it will
look. If all looks great,
go ahead and
click Publish to make
live.
8. Share your blog post!
Users
of your site can share blog
posts
on social media sites
including Facebook,
Twitter or LinkedIn via the
floating share
button on the left of each
blog
post.
A few of our blog posts
- Orange-Owned: The
Redheaded Camel (Alumni
Engagement)
- Founders Week
2019: Cornelia Pearson
Campbell (Alumni
Engagement)
- Student pharmacist
Trent Gray Jr. strives to serve
underrepresented, underserved
communities (College of
Pharmacy & Health Sciences)
- Happy two-year
brandiversary! (University
Communications & Marketing)
- A Philanthropy
Toolkit for Rural
Non-Profits (Rural
Philanthropic Analysis)